We’re here in the thick of winter now, and in my world that means lots of questions about how to fight the winter germies. Lots of colds, upper respiratory stuff, congestion, all the things that come from being cooped up in the midst of the cold weather.
I don’t know about you, but when I was little, any time I had a cold or congestion or a low grade fever, my mom would rub Vicks Vapo Rub all over my chest and neck and send me to bed. Those vapors would help me breathe and feel so good on an overheated body.
Little did we know what ingredients that contained! So when my son had his first cold some years back, I certainly wasn’t going to use any product with chemicals or anything petroleum based. I decided to make my own chest rub from ingredients that I felt comfortable using on a tiny body.
I’ve since changed my formula a bit, as he’s older now and needs a stronger blend to relieve his stuffies. I personally don’t often get congestion or upper respiratory stuff (my constitution is strong there, weaker with digestive issues), but when I do get a cold and it’s difficult to breathe through my nose, I find this chest rub helpful.
For clients who are interested in making their own remedies, I offer options for changing the formula to meet their particular needs, that suits their particular constitution. By now you all know that I’m never into a one size fits all solution! Everything is individualized and tailored. But there are a few blends that keep coming up, that are successful in most cases for the most part.
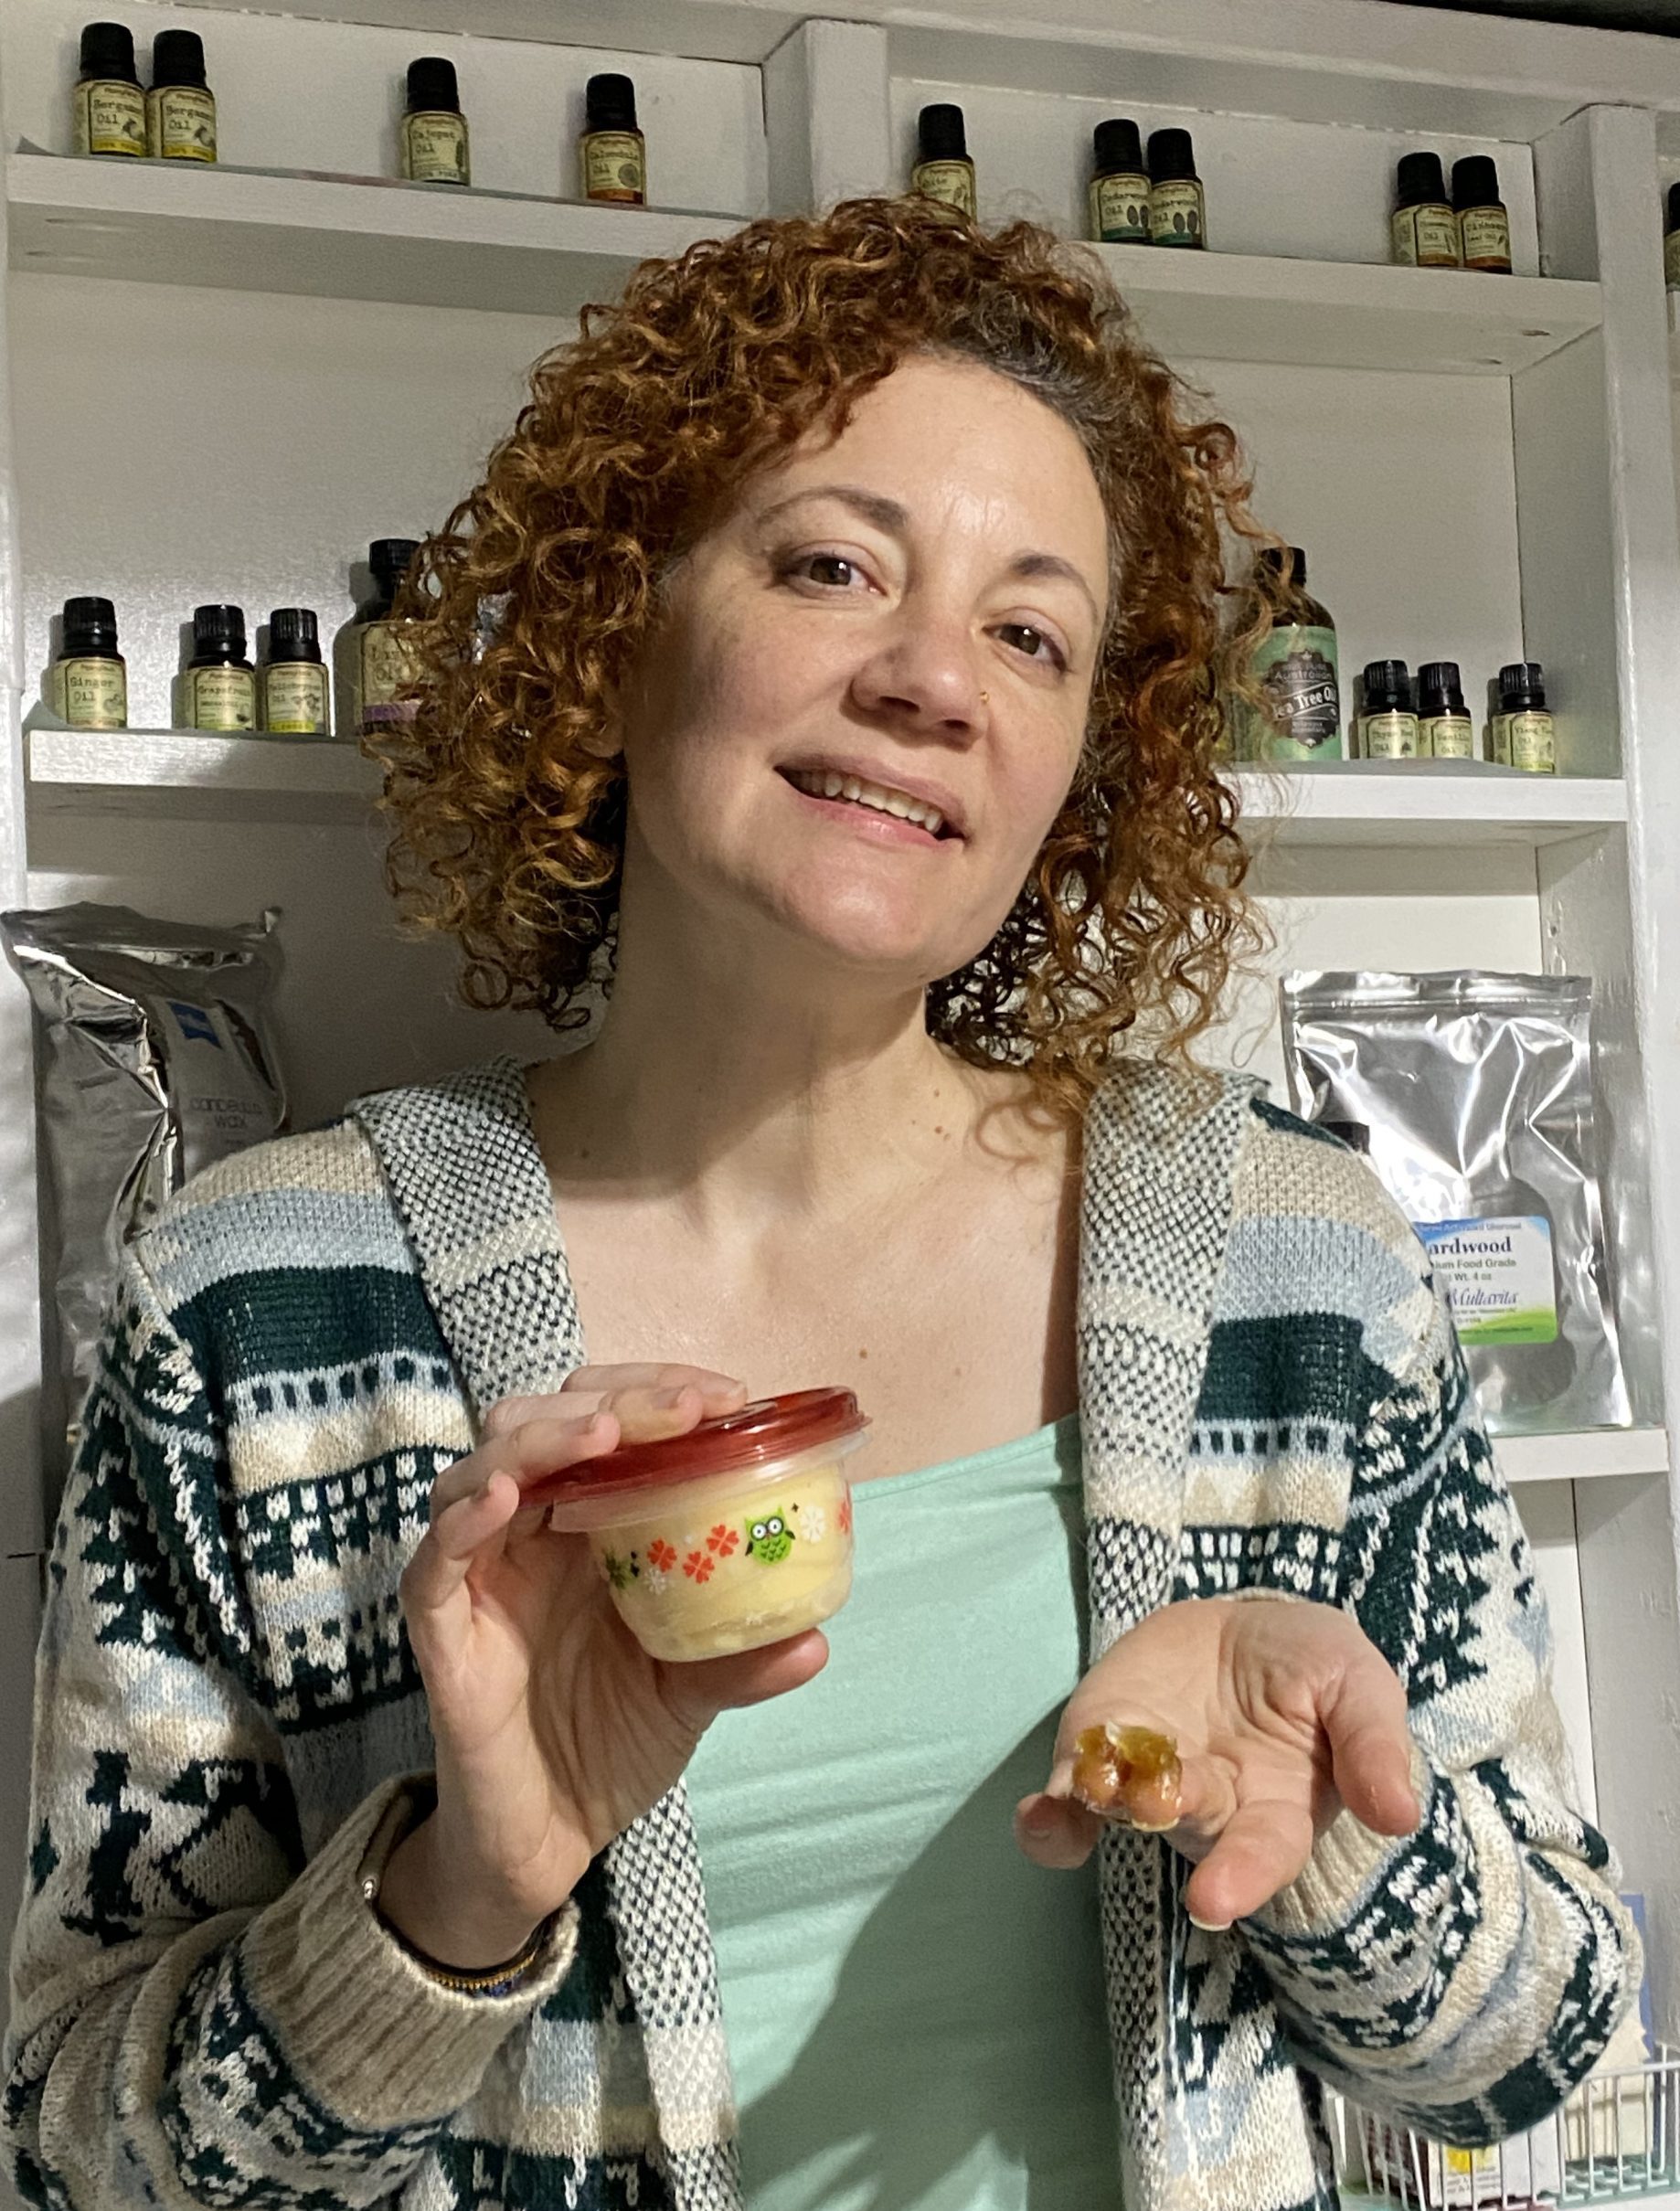
Where to start? All rubs begin with a blend of some kind of oil and some kind of wax, mixed together to create a rub. The ratio varies depending upon the viscosity of the oil and the hardness of the wax. Also some people like a firmer rub, more like a balm, and others like a more fluid rub, more like a paste. I’d say start with the recipe below, and adjust to your liking (add more oil for a softer consistency and more wax for a firmer consistency).
Once the wax/ oil blend is melted over heat and mixed well, you pour it into a container, add your essential oil blend, again mix WELL to incorporate the ingredients together, and let it cool. Done. It’s quite easy and quick. Start to finish, it takes about 20 minutes to create, plus cooling time.
BASIC RECIPE
You’ll need:
- Double boiler (affiliate link HERE) (or one smaller pot that fits into one larger pot)
- A mixing utensil (something that will release the hardened wax material easily- I’ve used a big metal spoon and a silicone spatula with success; I’ve also used a nylon cooking spoon that I didn’t care if the wax stuck to it)
- 1 ¾ ounces of a carrier oil– for the chest rub, I like castor oil (affiliate link HERE), as it penetrates skin nicely and sticks around for a long time; really helps the relief get deep into the chest, but most good quality oils will work (jojoba, vitamin E, almond, avocado, etc.)
- ¼ ounce of wax– most people use beeswax, but I prefer vegan candelilla wax pastilles (affiliate link HERE).
- Essential oils– for tiny people, I simply use lavender. They’re sensitive little beings, and many many many essential oils are too strong for their tiny bodies. In fact, for my littles I typically suggest taking a tablespoon of castor oil and mixing that with a drop, maybe two, of lavender essential oil, and that would be enough chest rub for a few doses. They really need so much less than we think.
For adults and older kids, I like mixing peppermint (5 drops) with eucalyptus (5 drops) and some rosemary (3 drops). This seems to be an overall effective blend to get that congestion clearing “vapor”. You can certainly substitute menthol crystals for the peppermint oil (1/4 tsp.). I personally find menthol crystals to be too strong (in raw form they’ll actually eat through plastic containers and mark up shelving!!), so I use the peppermint. If you need a “lighter”, less potent oil, spearmint can work nicely.
This recipe will create about 1 ¾ ounces (a very small, “condiment container”) of rub. Obviously you can multiply amounts to make bigger batches. Don’t go overboard, though- better to make small batches more often to keep everything fresh and potent. You certainly don’t want a rancid oil, and essential oils are called “volatile oils” for a reason. Freshly created rubs will be more potent and work better.
Method:
1) Pour your 2 oz of carrier oil into your double boiler pot and slowly increase the temperature of your stovetop using medium heat.
2) Starting adding in your wax pastilles, a little at a time, and keep melting them slowly into the carrier oil.
3) Once the oil and wax are fully melted and blended evenly together, remove from heat and add in the essential oils.
4) Quickly pour into storage container.
5) Leave the container uncovered until completely cool. The top portion of the rub will cool down faster than the lower part; don’t get fooled into thinking the whole thing is cool! I usually make my rubs after dinner (the only time, it seems, that I have spare time!) and leave my containers open overnight just to make sure they’re fully cooled before I put the lid on.
For easier cleanup, I usually let everything harden then scrape down the pot and utensil thoroughly before throwing them into the dishwasher.
Use:
You can use this just like any other chest rub: take some on your fingers and spread over the chest area and inhale that cooling, soothing aromatherapy. Alternately, you can rub this on the soles of your feet and cover with socks. Sounds weird, but it really works!
Reach out HERE if you want to try this but need some direction, instruction, advice, or personalization- I’m always here to help!
And if you’re just looking for a ready-made, natural, healthy version of the traditional chest rub, I’ve got you covered! You can find that HERE in my store (it’s labeled as a foot product, but don’t let that fool you! Works on the soles of the feet and on the chest, too!!).
Blessings,
Melanie